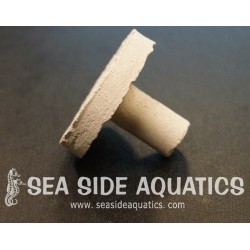
Reference: CF0010
Brand: Sea Side Aquatics, LLC
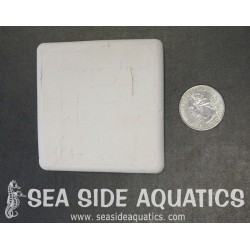
.75" Ceramic Coral Plug
.75" Ceramic Coral Plug
Reference: CF0010
Brand: Sea Side Aquatics, LLC
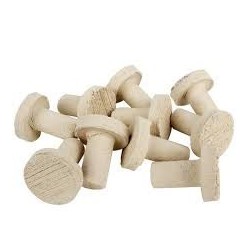
Reference: LGFP20
Brand: Your Choice Aquatics
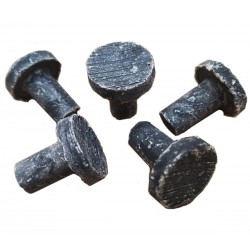
Reference: CF0009
Brand: Your Choice Aquatics
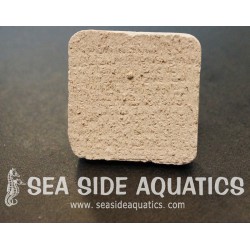
Reference: CF0005
Brand: Your Choice Aquatics
Banner


.jpg)

Brand: Your Choice Aquatics
Brand: Your Choice Aquatics
Reference: G-4200
Brand: Matala
Reference: G-3500
Brand: Matala
Reference: G-2300
Brand: Matala
Brand: Your Choice Aquatics
Brand: Your Choice Aquatics
Brand: Your Choice Aquatics
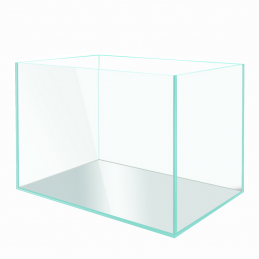
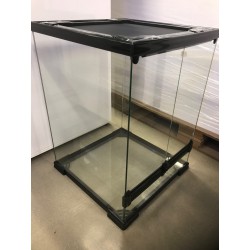
Brand: Aqua Japan Glass Tanks
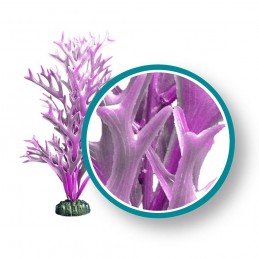
Brand: Weco Wonder Plants
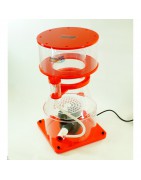
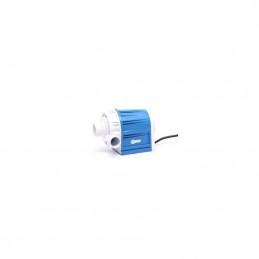
Brand: Bubble Magus
Reference: 4549.99
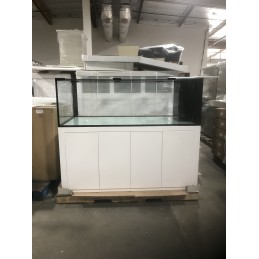
Brand: Aqua Japan Glass Tanks
Reference: 104.99
Brand: Aqua Japan Glass Tanks
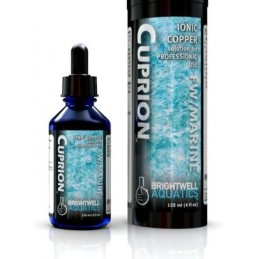
Brand: Brightwell Aquatics


icon
For most order over $599.99
icon
7 days for return
icon
Always feedback customer 24/7
icon
Safe shopping guarantee
check_circle
check_circle


")


")


")
")
")


")


")

")

")


")


")


 60.5in (153.7cm) 58.5-68.5in (148.6-174cm)")
")


")


")
")


")
")
 Aqua UV")


 Aqua UV")
 Transformer, Grey (A30160)")


