Category Archives: Misc. News

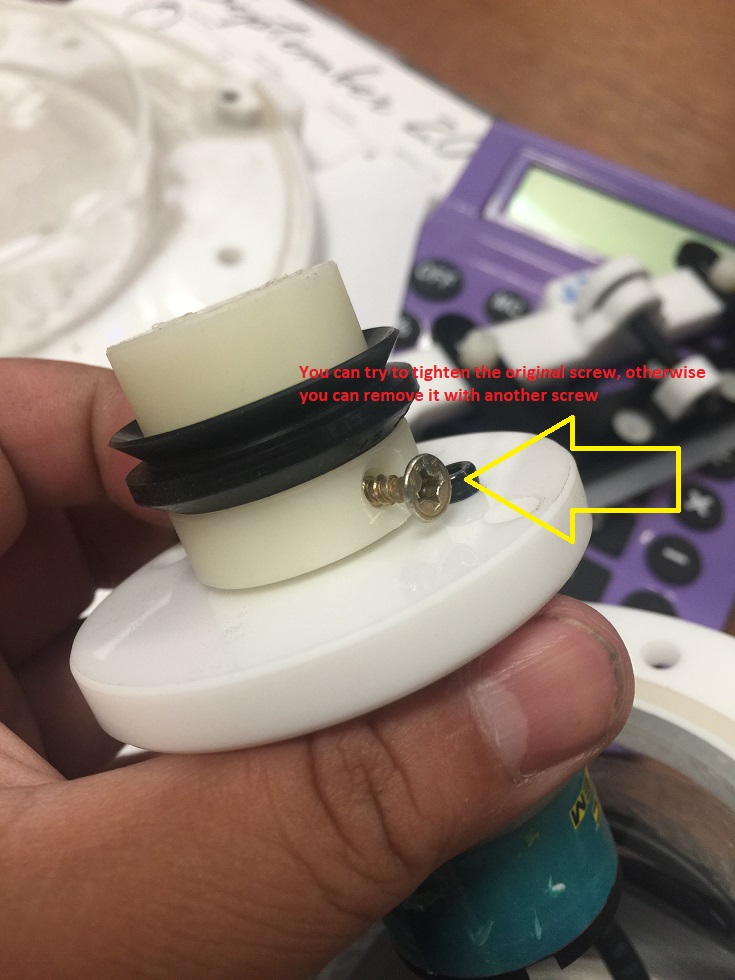
How to replace the head cleaning screw

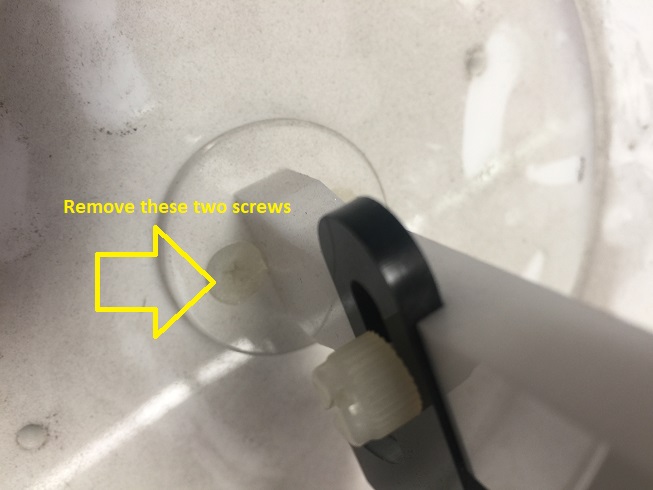
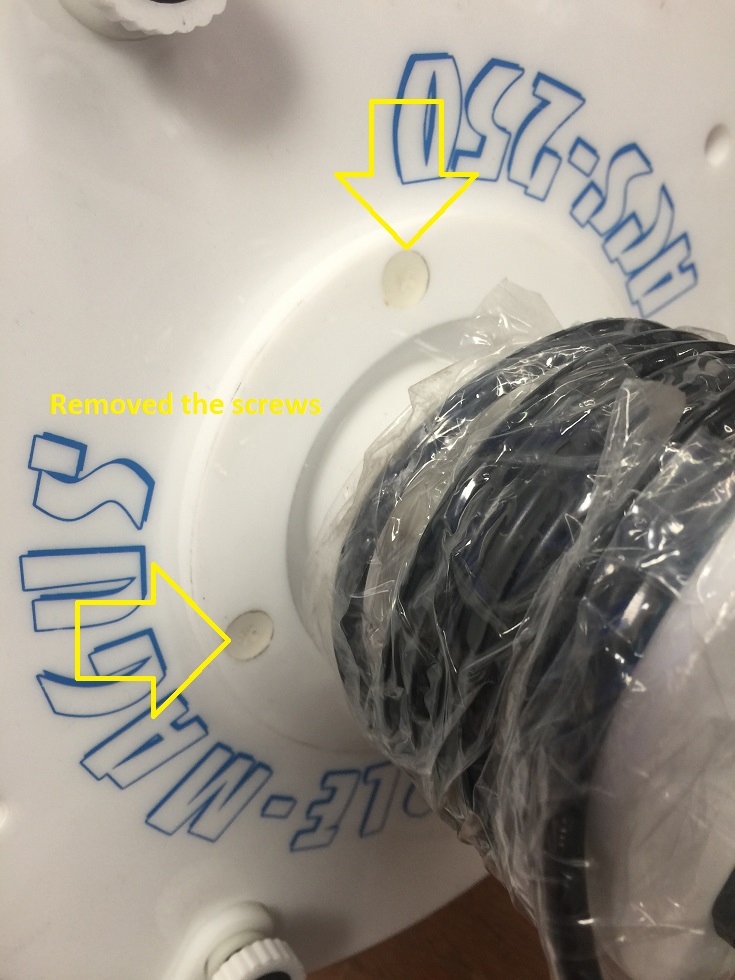
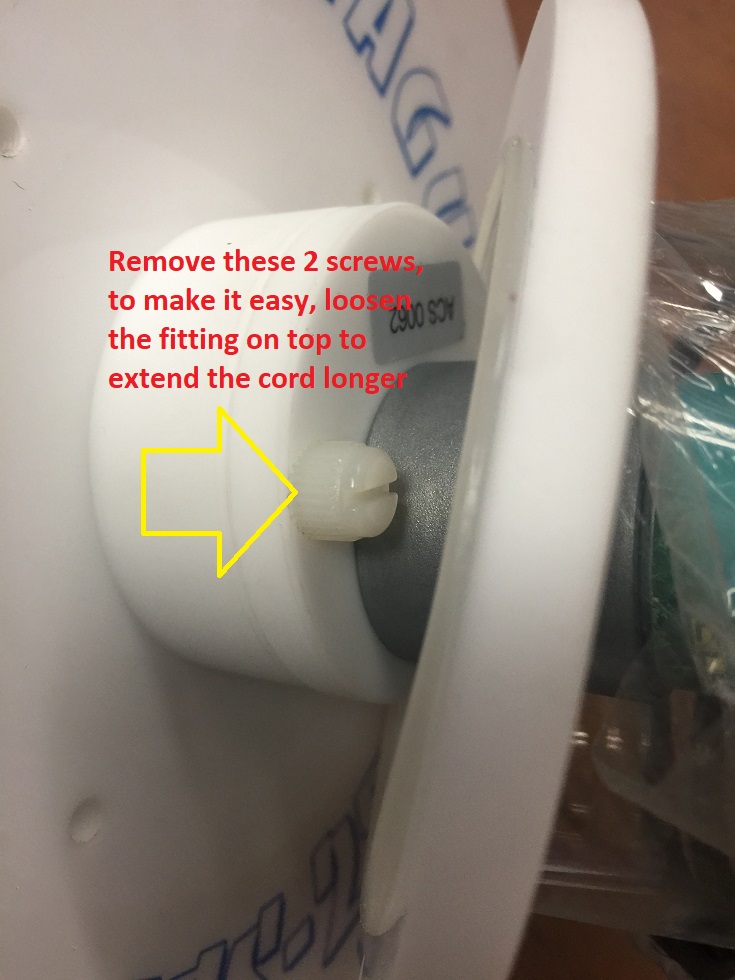
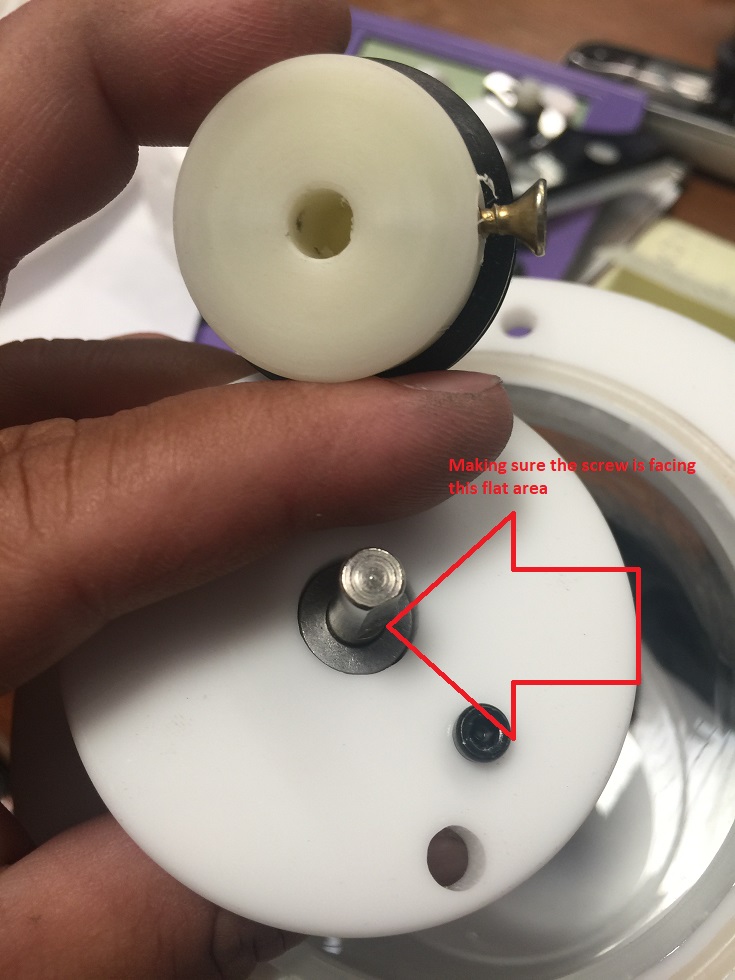
Over period of time the wiper blade screw might became loose, please follow the steps to replace or tighten the screw for the cleaner head.


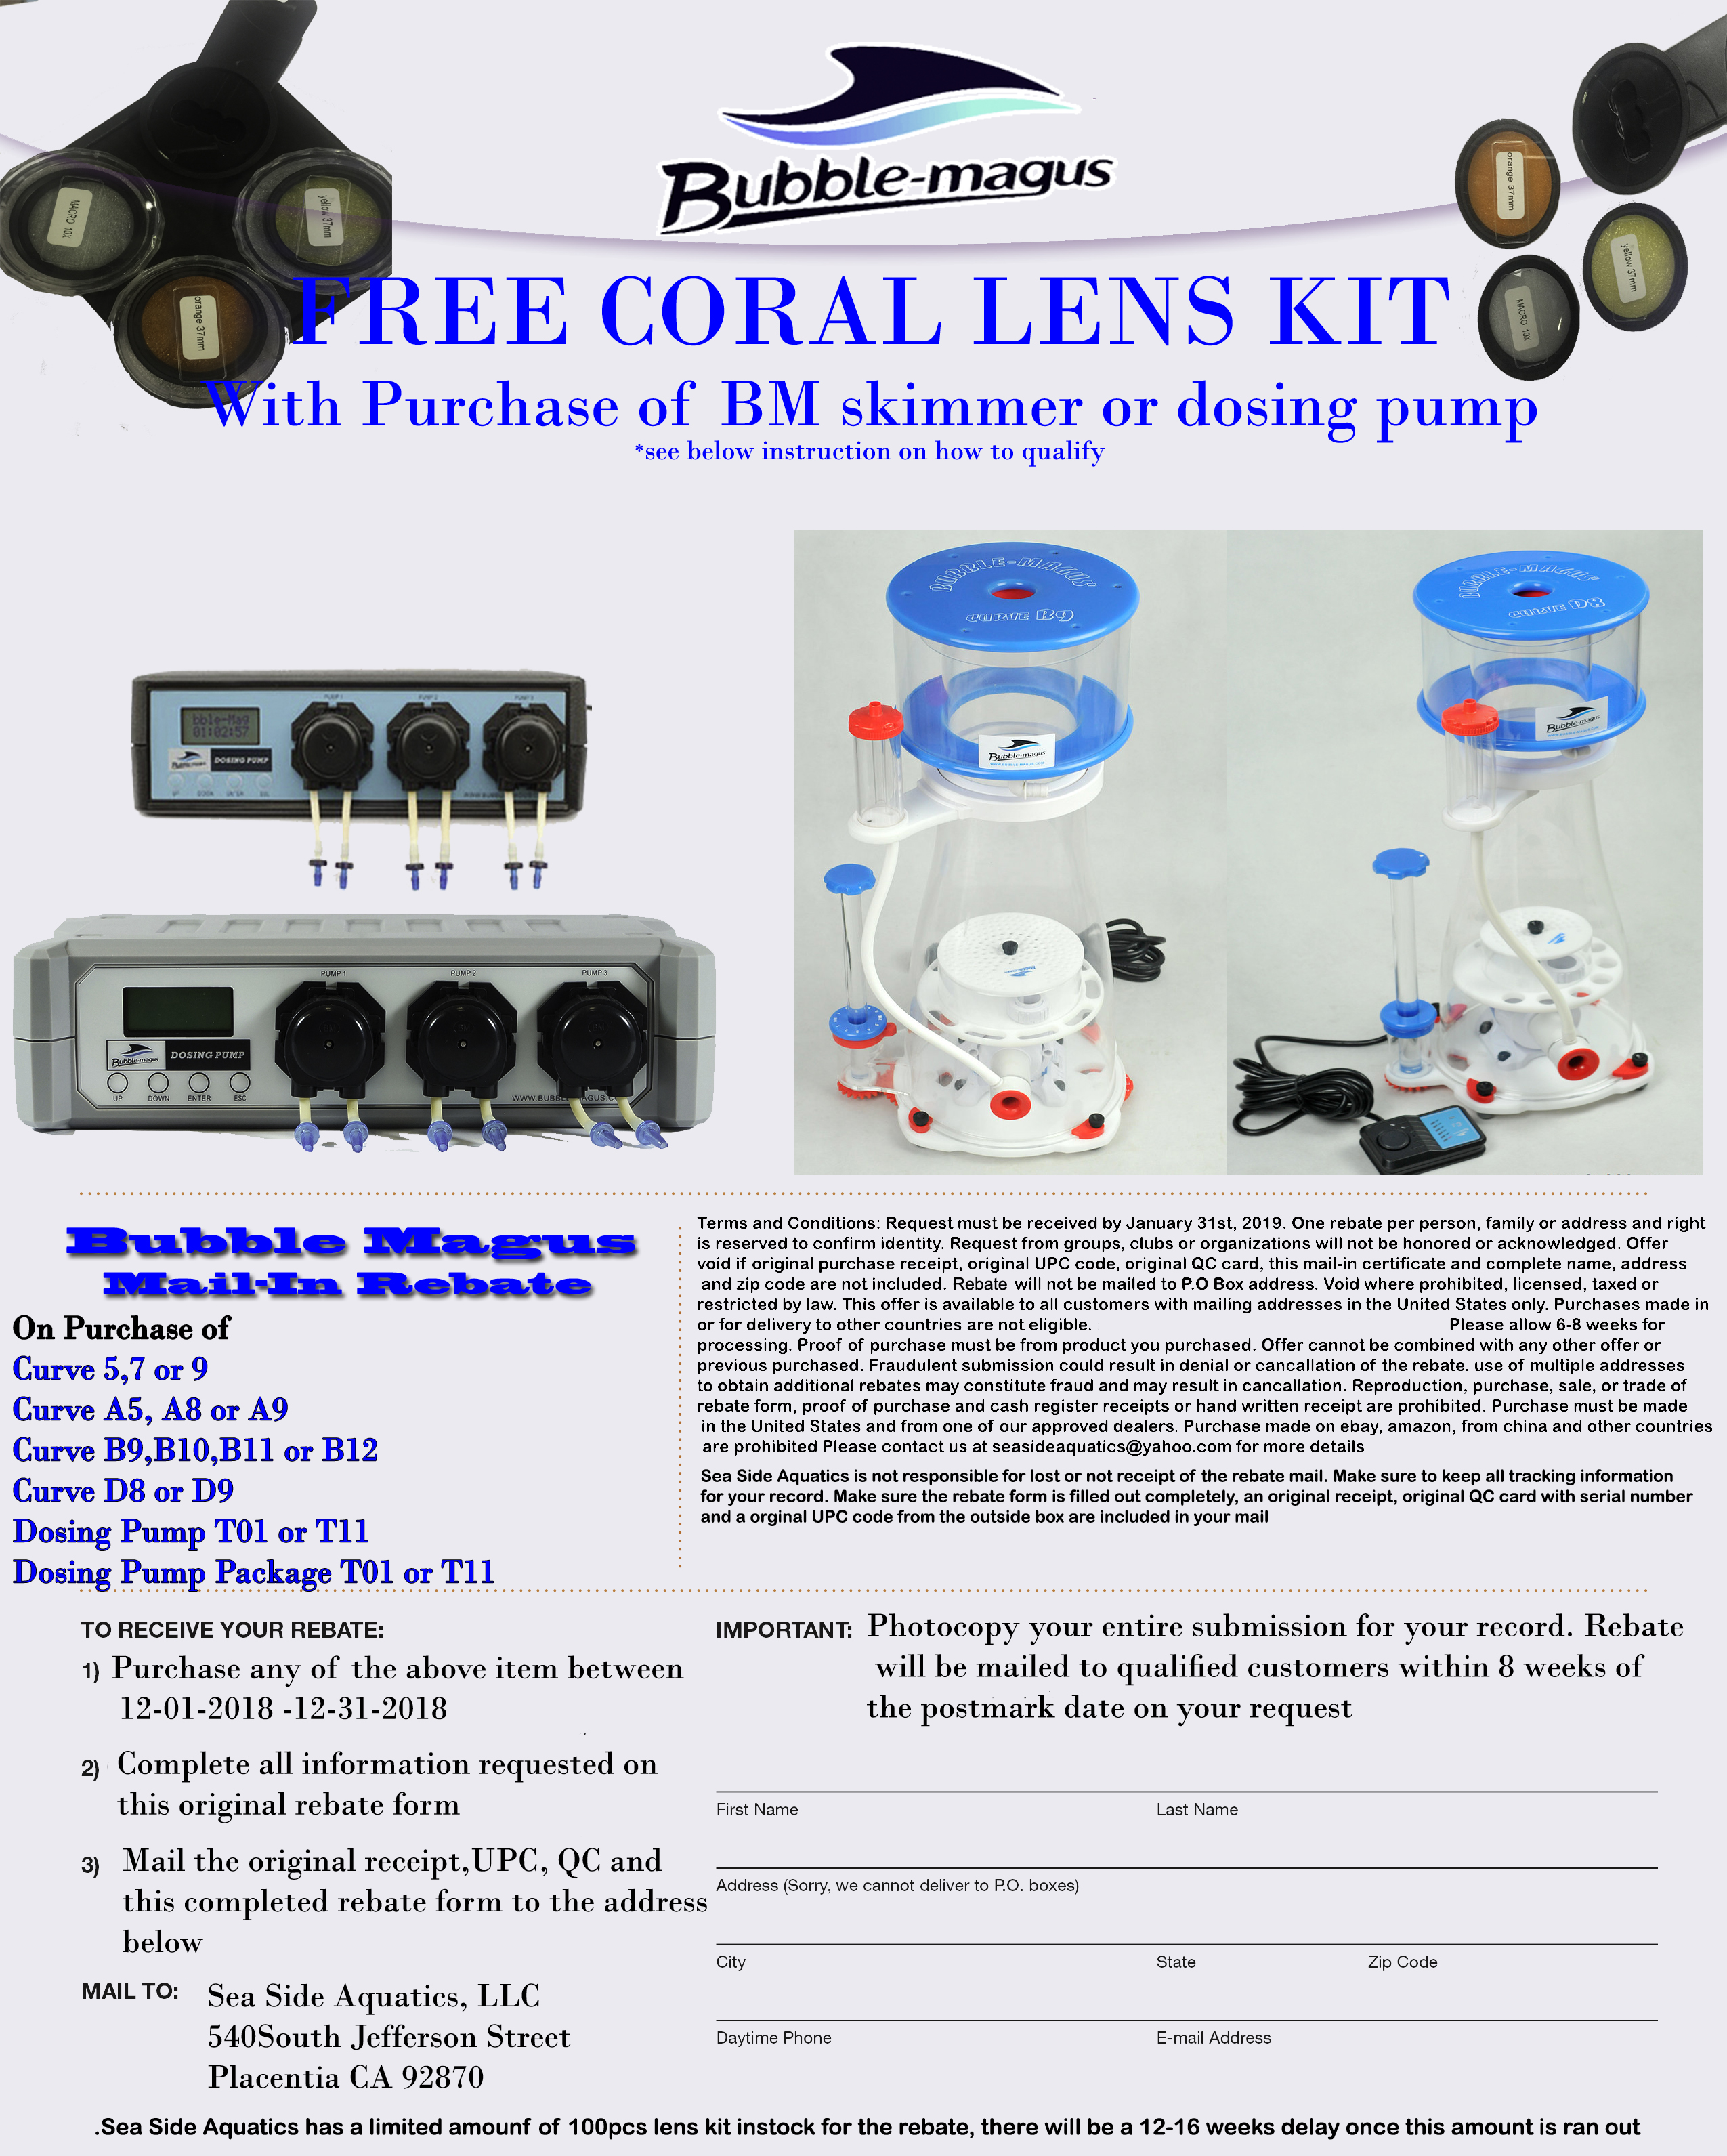
Bubble Magus 2018 Rebate Free Coral Lens Kit

Category : Blog , Misc. News

For December of 2018, Sea Side Aquatics is offering FREE Bubble Magus coral lens kit to buyers with purchase of any listed qualified bubble magus items.

Please click on the flyer for more detail and print out the rebate form. Click here for the form bubblemagusrebate2018-2


How to clean a dc pump impeller

There are so many dc pumps out there and all the impellers are pretty much the same or similar to each other.  The most important part of keeping it clean and running without any issue is making sure the bearing is not stuck to the ceramic shaft and the calcium build up right behind the propeller.

Once you remove the impeller from the pump motor, please inspect the bearing inside the motor housing, make sure its there and if possible remove it.  Place it to the impeller shaft, spin it or move it in and out making sure its loose.  If its fit tight or you have to put some pressure or force into the movement. You need to clean the shaft and bearing. They should be loose and move freely.

Over time, the calcium also build up in the ceramic area right behind the propeller and in front of the magnet. right between the hole of the black plate.

Please follow the pictures instruction to identify the area and how to clean it.


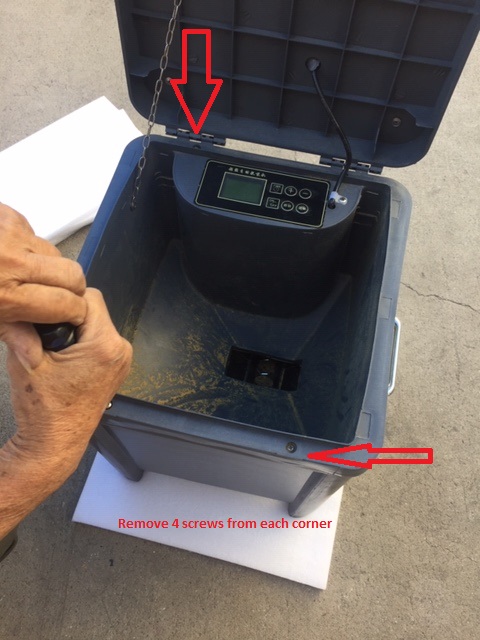
How to change out control board for solar feeder

To change out the control board, please follow the below steps.

– 1 open the lid

– remove all 4 screws, at each corner of the feeder

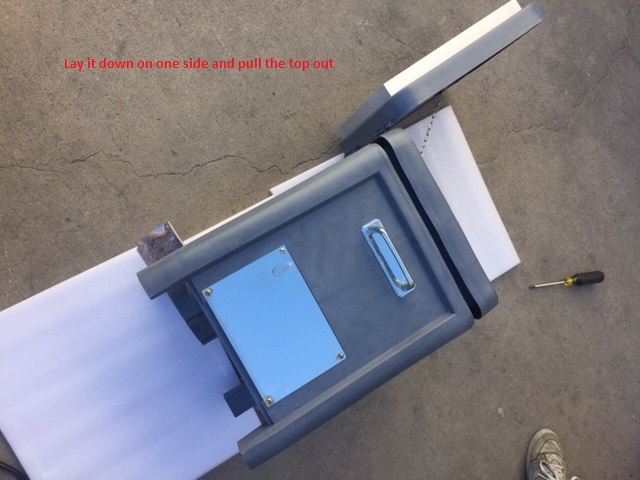
– lay the unit on it side

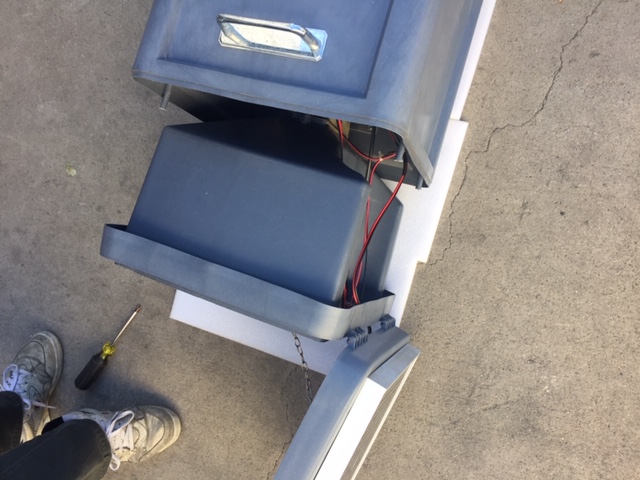
– side the top portion out

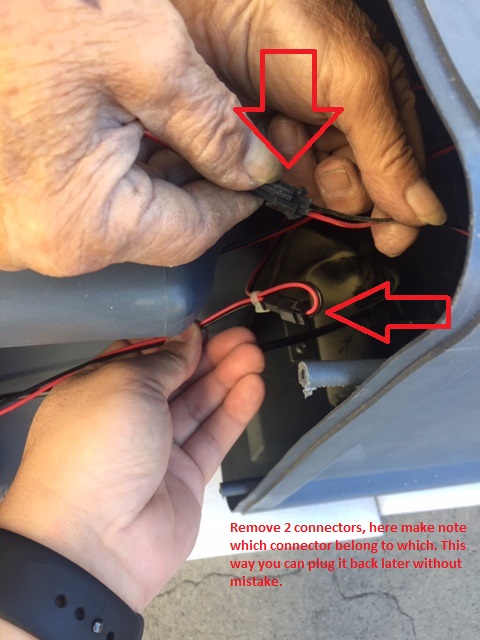
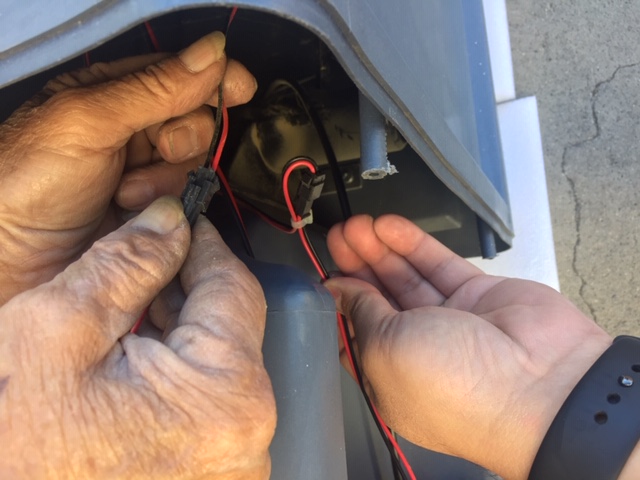
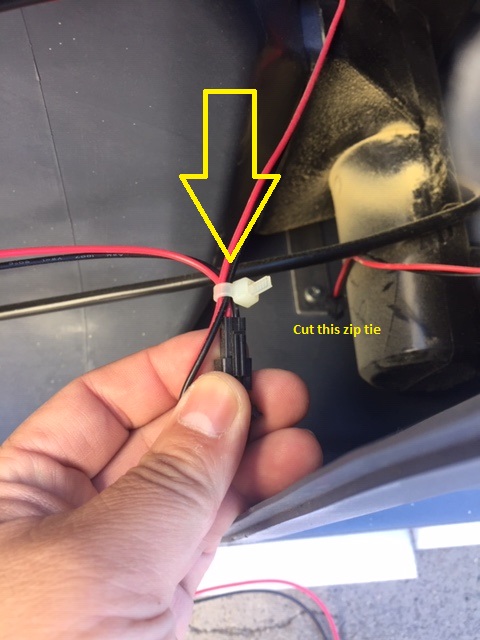
– disconnect the 2 quick connections, please make note of which connector below to which one, this way no mistake when you plug them back.

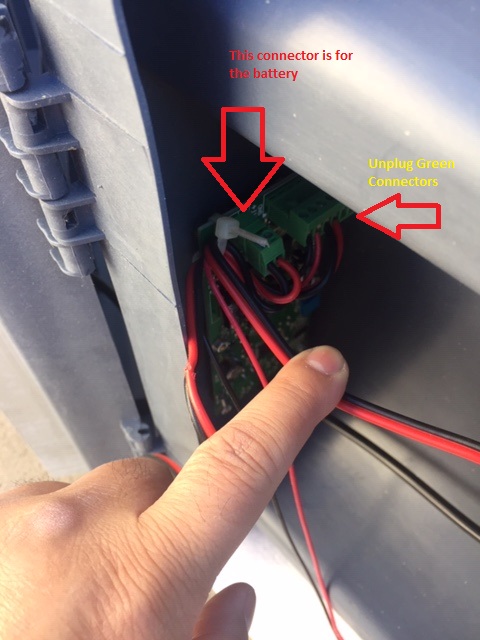
– discounnect the connections at the control board

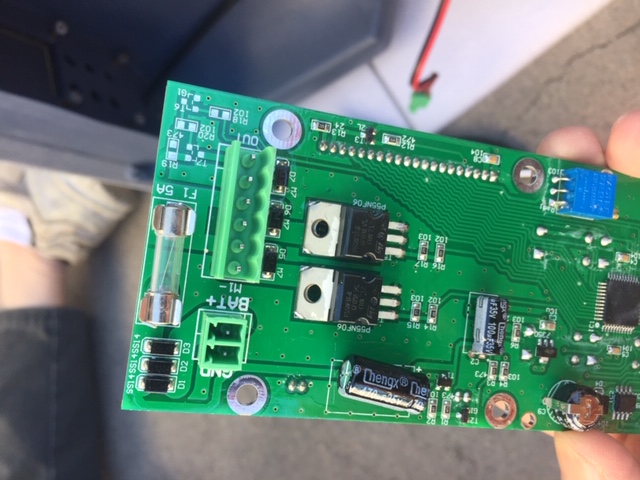
– remove 2 nuts from the controller board using plyer

– install the new board and connect everything back to where it belongs

– slide the top back and put the screws back

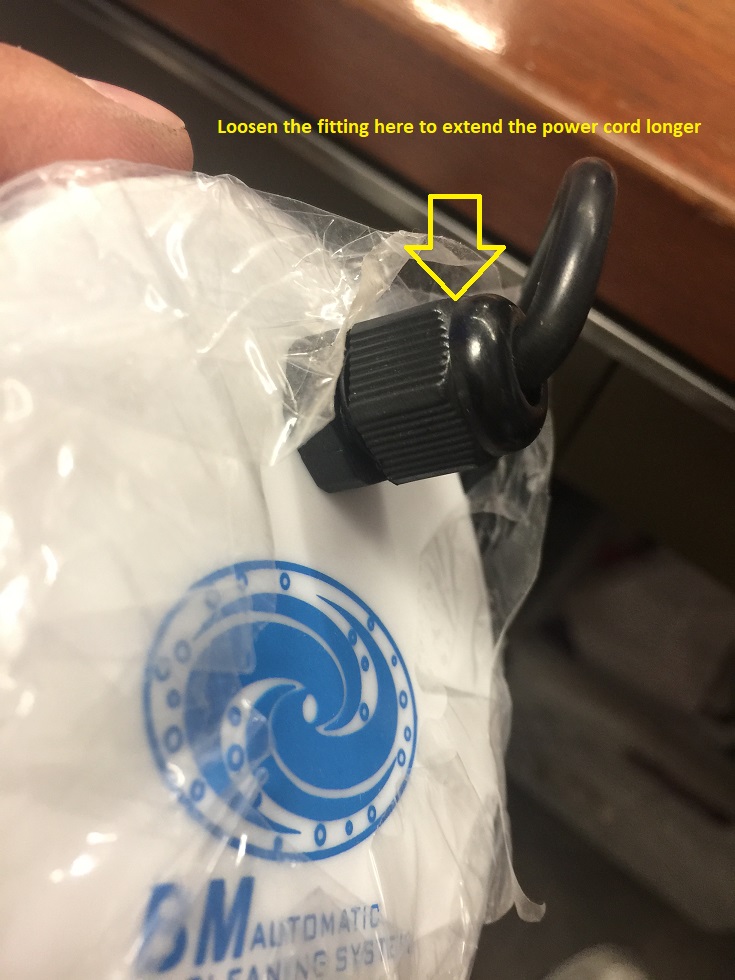
Please follow the below pictures

Product’s Information

Archives